Features:
Help:
How to:
Careers:
About:
Plant Doctor
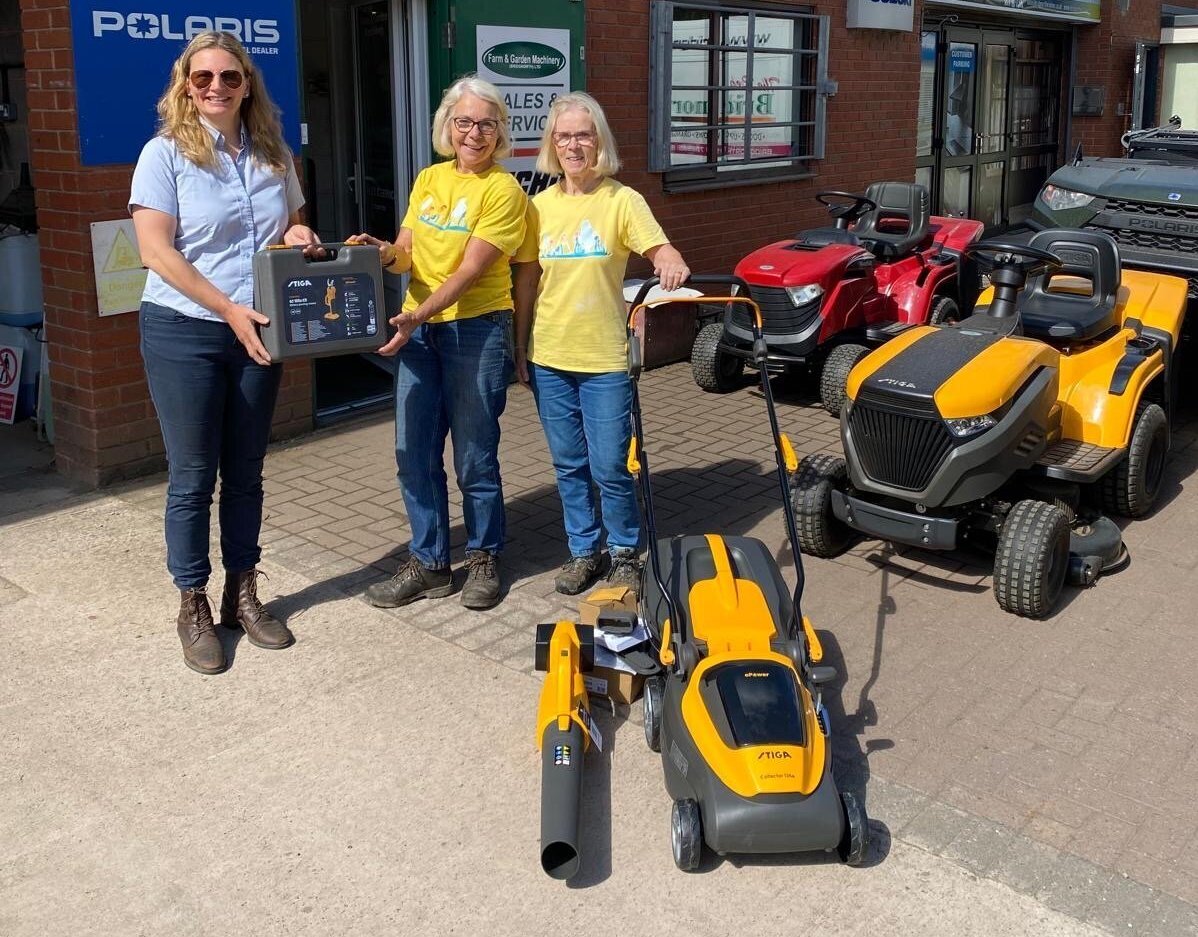
Product Reviews
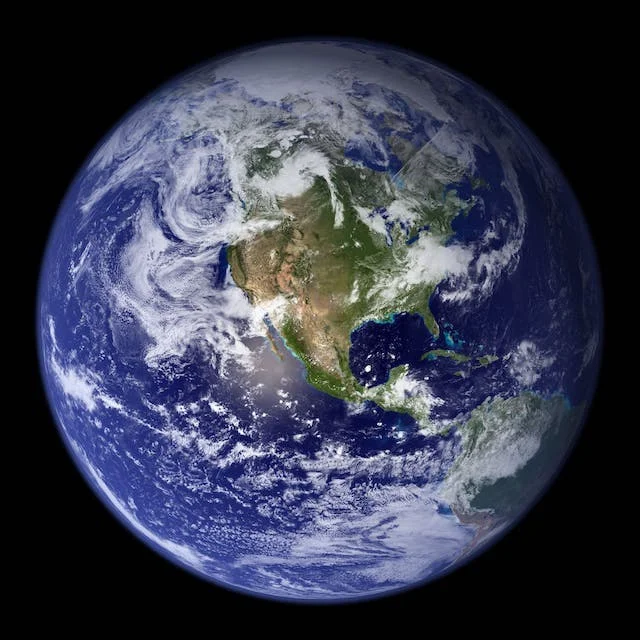
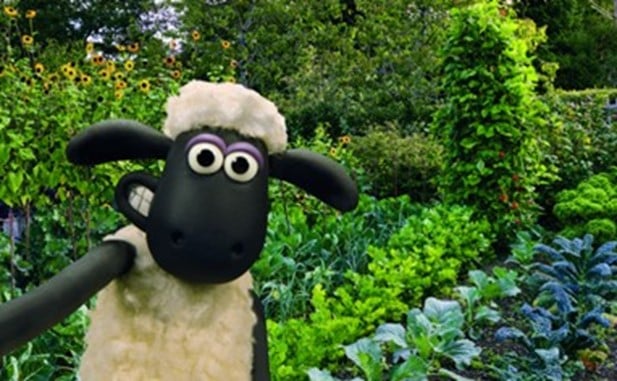
World Gardens
Horticulture Jobs
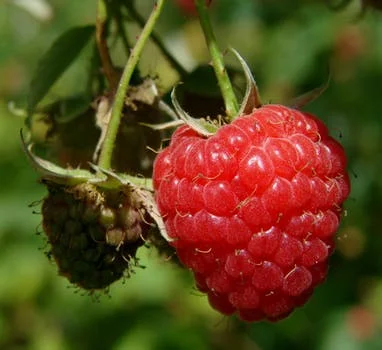
Fruit Pests
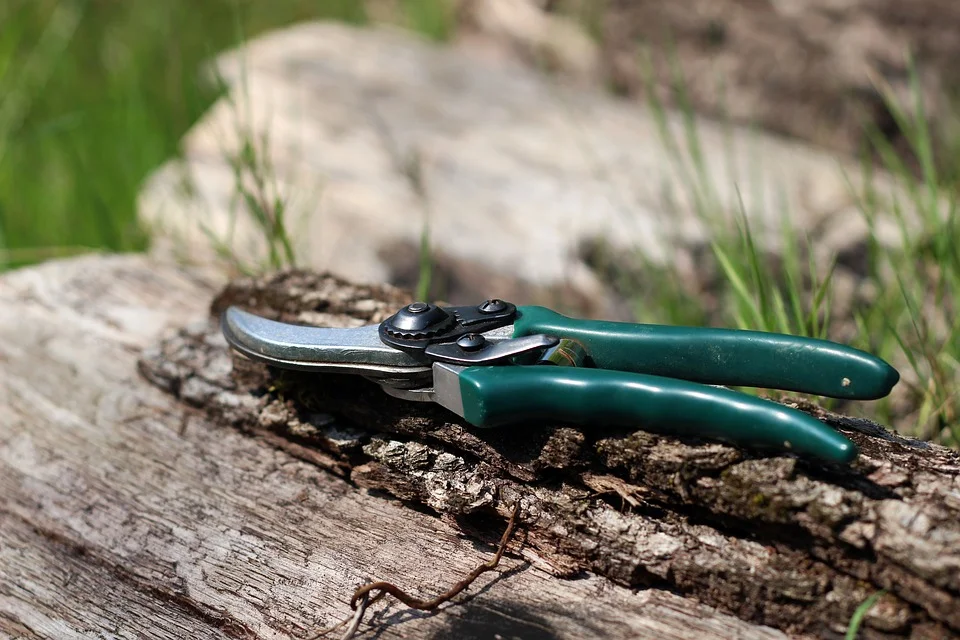
Pruning Guide
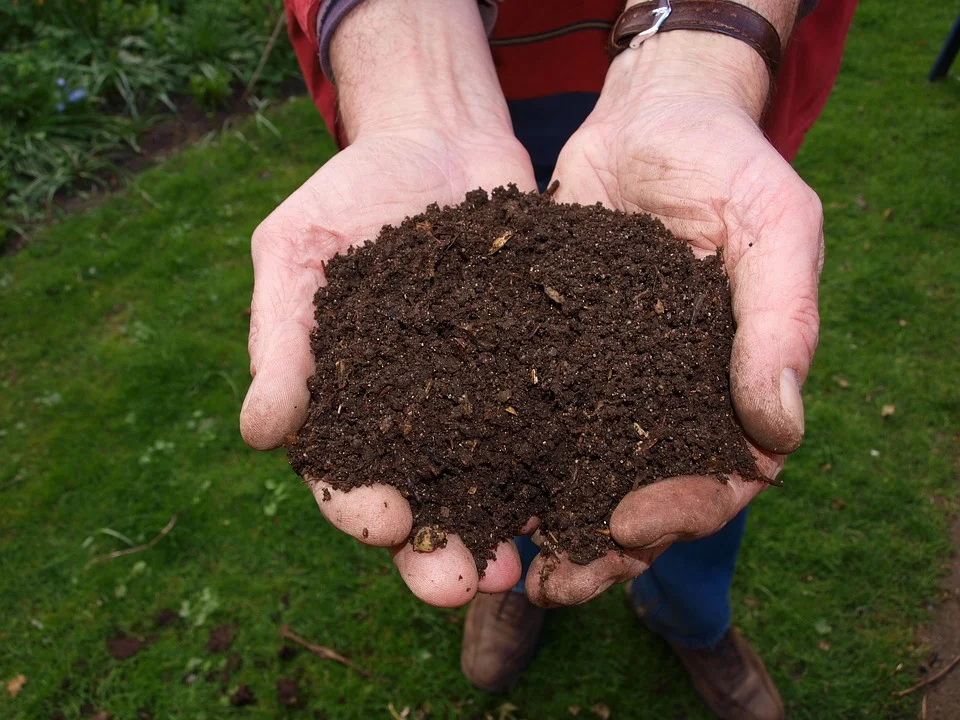
Soil pH Guide
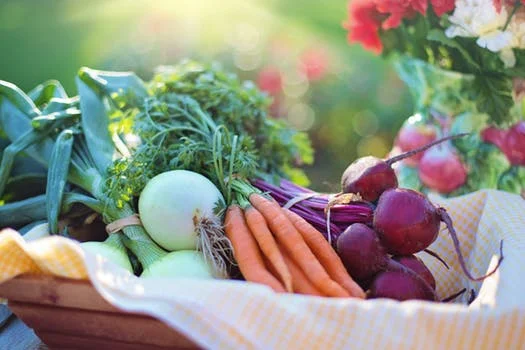
Veg Planting Guide
Home / Garden Ideas /
More Garden Ideas
All News